Happy Wednesday everyone! I've been off work this week and the weather has finally cooled down some, so I only wore shorts one day - yes! Have I mentioned before that I hate shorts? Well, I do. They don't really look good on anyone unless you're 5'8 and have toned, tanned legs. Unfortunately, that's not me. Also, look for a guest appearance from my aunt!
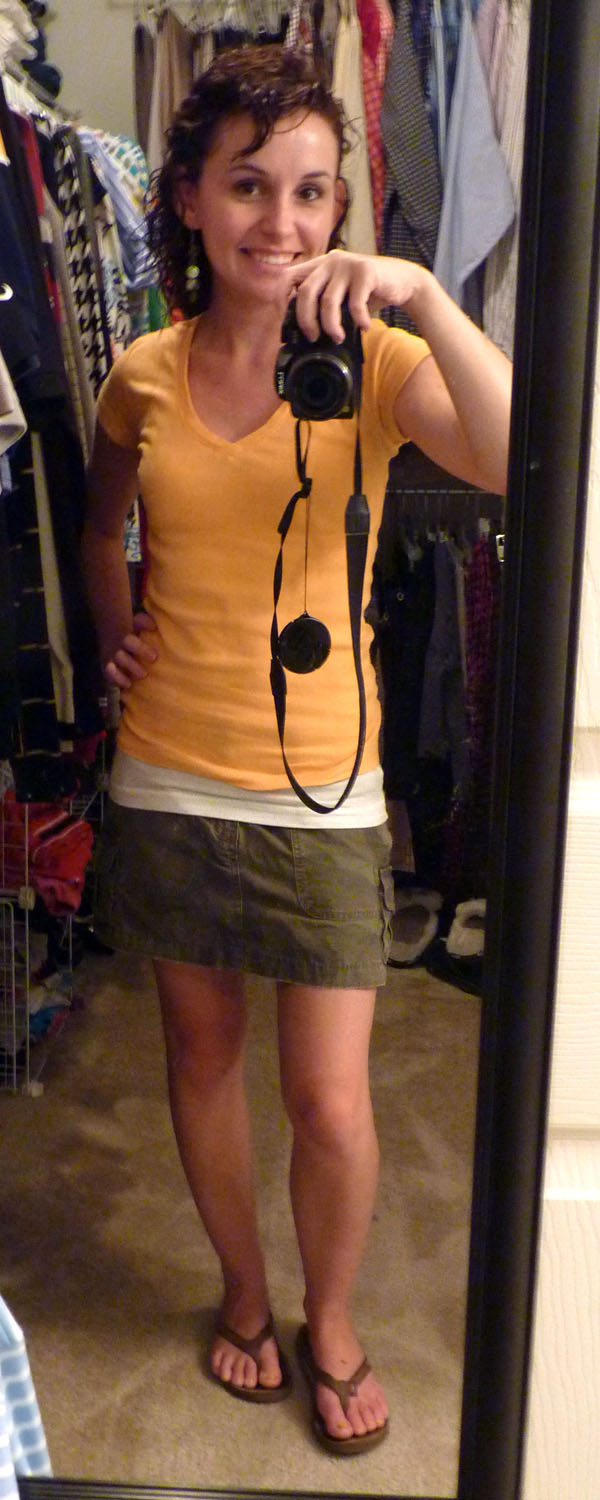
Day: Thursday
Where: Work, picking up my Aunt Missa at the airport, then out to dinner
Earrings: Target
Pink tank: AE
Gray tank: Old Navy
Skirt: Gap
Shoes: Old Navy
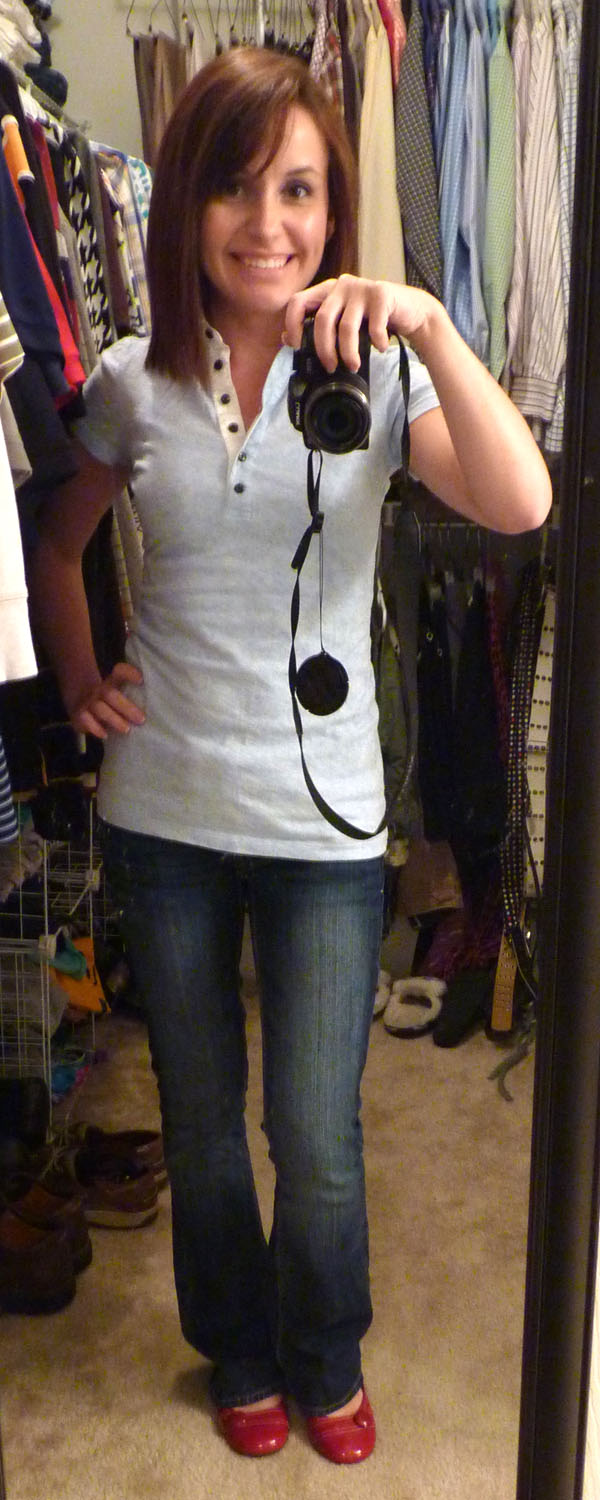
Day: Friday
Top: Banana Republic
Jeans: AE
Shoes: Rainbow
Day: Saturday
Where: Out to dinner
Me
Shirt: Banana Republic
Jeans: AE
Shoes: Dillard's
Aunt Missa
Shirt: Macy's
Jeans: JCPenney
Shoes: Aigner Outlet
Day: Sunday
Tank & Shorts: Old Navy
Shoes: Saucony
Day: Monday
Where: Lots of errands
Shirt: Gap
Jeans: AE
Shoes: Dillard's
Day: Tuesday
Where: Walmart
White tank: Old Navy
Maroon tank: AE
Jeans: AE
Shoes: Rainbow
Hmm, I think AE and Gap/Banana/ON should totally hire me as a spokesperson, because apparently, those are the only places I shop. Hey, when you find something that works, stick to it!