Showing posts with label Halloween. Show all posts

Monday, October 11, 2010

2010 Halloween Decor


Our cute little end table.  Our lamp is getting all witchy, my tombstone shadow boxes found their home here, the milk glass vases and little ghost figures are from garage sales, and the jack-o-lantern tealight holders (aren't they adorable?!) are from Target a few years back.  (I just love this end table.  Too bad it's only on loan from my mom and stepdad.)


Next to our TV is a cute lighted vine pumpkin from Target.  The leaf candle dish and candle were a wedding gift from my friend Crystal.  (The berries and greenery are a year-round decoration.)


Had to break out my fall-scented candles.  I just bought the Harvest scent from Yankee Candle and I love it!  It's not too strong, but not too light... gives off the perfect amount of scent.  The Harvest Berry candle is from Bath & Body Works and is probably my favorite scent ever.  Hiding in the back is my go-to Autumn Wreath (with a scarecrow lid on top).


The only decor I bought this year was this tree from Hallmark.  I had to have it to house all of the Halloween ornaments I found for $2 at a garage sale!  I put my duct tape pumpkin here for the time being, until it has to go off for judging.  I got the little buckets and Scary sign (which has a Boo sign to match, hanging on our laundry room door) from Target a couple years ago.


Here's our coffee table.  I love having a square coffee table for decorating.  I put this Halloween table runner on it (our dining table has a fall tablecloth on it right now so I had to find a new place for this runner - it has pumpkin, spider, and ghost appliques on the ends).  I got the witchy pumpkin and mosaic candle holders at Yankee Candle.  The leaf pumpkin was on clearance at Hobby Lobby last year.  I was really sad when the hurricane tops to these candlesticks broke, but when I was trying to find a centerpiece for this table, I was glad I had kept the wooden bases!  I put two small glass bowls (bought on clearance at Target for my bridesmaids luncheon) on top and they look like they were always meant to be there!  I filled them with cinnamon-scented pinecone filler from Michael's, with a little spanish moss thrown in the bottom.


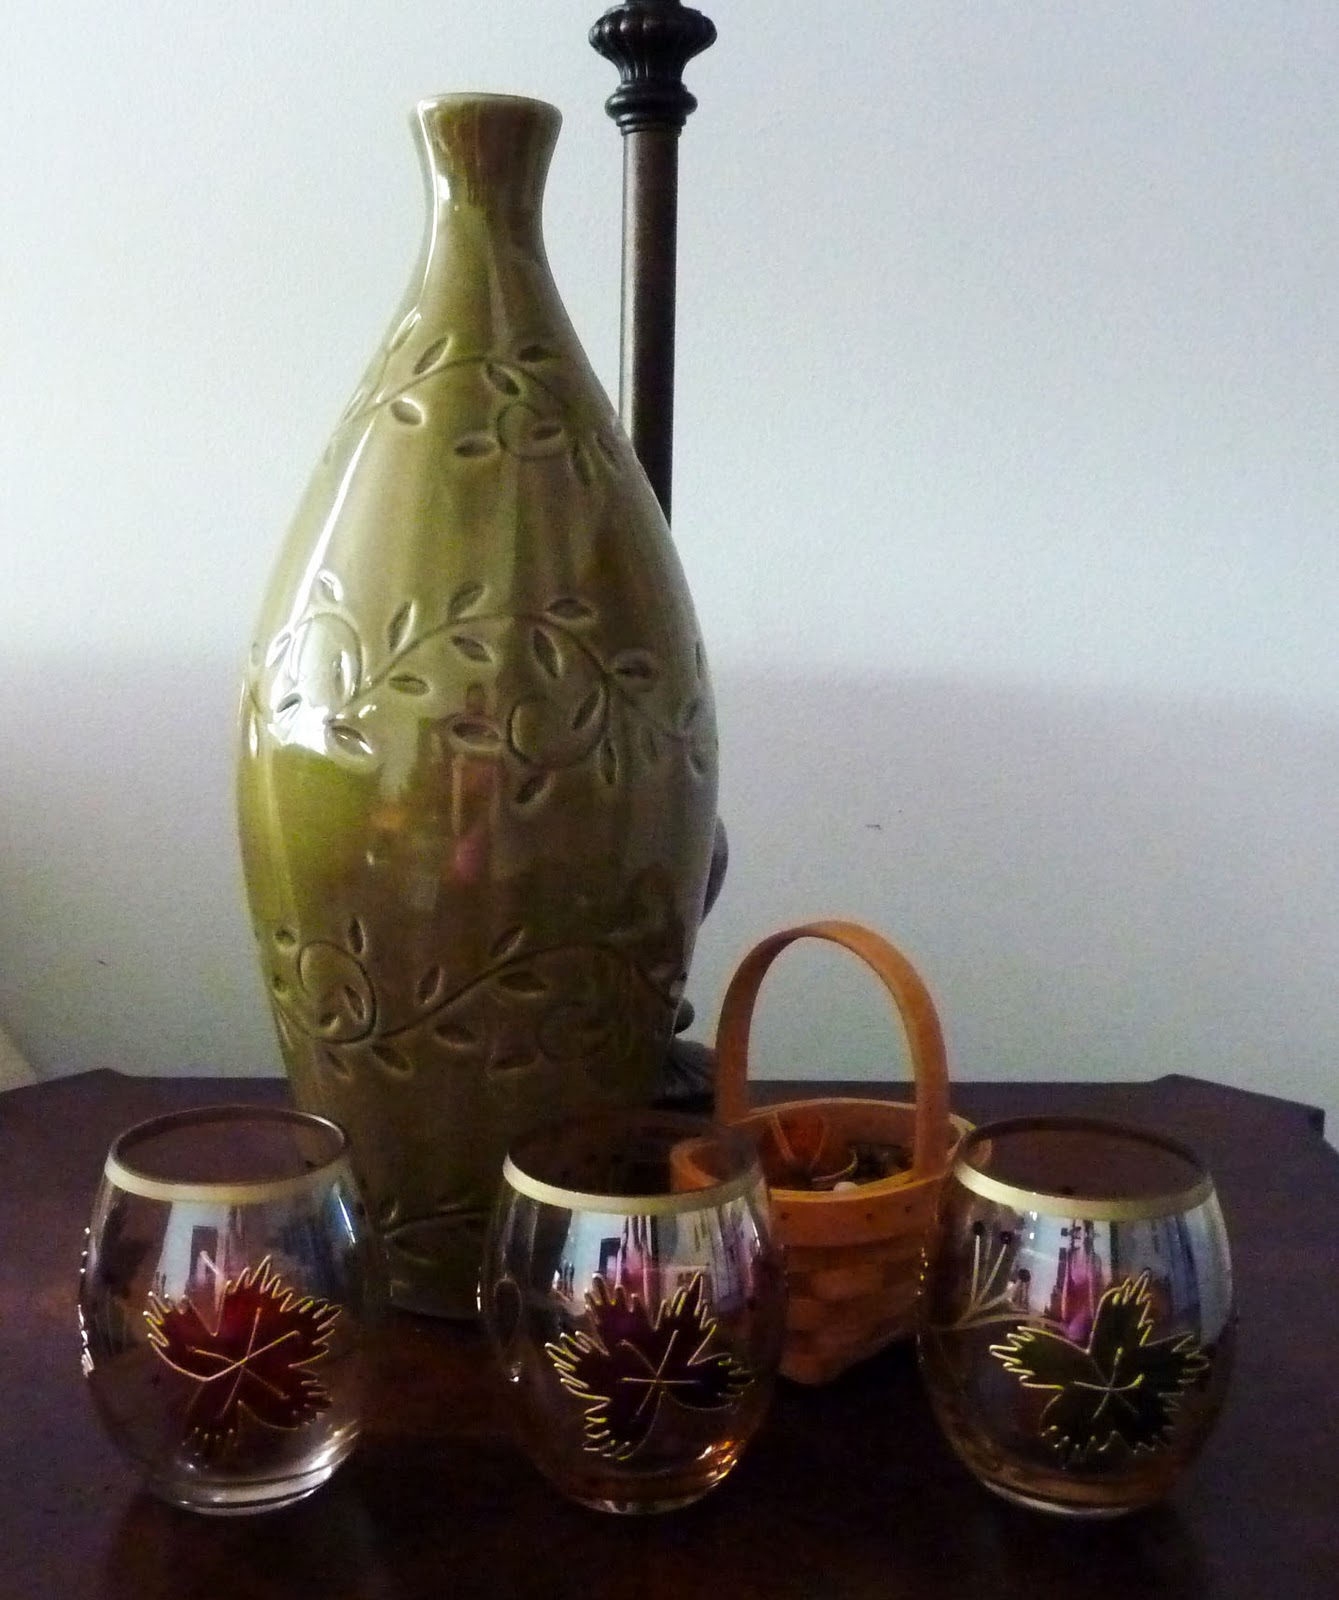
Okay, not technically Halloween-y but I love these small leaf votive holders I got at Belk a couple years ago.  I put more pinecone filler in the tiny basket, and the green vase stays here year-round.

I have lots more Halloween stuff in NC, but alas, it won't all fit up here.  I will be so glad when all of our things can be reunited!

I hope your Halloween will be filled with lots of spooky tricks and delicious treats.


"Please get me out of this ridiculous shirt."

Sunday, October 10, 2010

Duct Tape Pumpkin

Steven's company is having a duct tape pumpkin contest for Halloween.  Basically the only requirements are that you have to use Duck Brand Duct Tape to create a jack-o-lantern.  Other materials can be used as well, as long as duct tape is incorporated.  The entries will be judged on creativity, use of color, and workmanship and 1st, 2nd, and 3rd place winners will be chosen.  So of course, Steven enlisted my help.


I bought a black pumpkin at Michael's for $6 (it was 50% off!).  I could have used a real pumpkin, but this way I can keep it as part of my decor year after year.


I found this witch and moon image online, scaled it to the size I wanted, printed it and cut it out.


I rubbed pencil on the back of the image, then traced it onto my pumpkin.  I wasn't sure at this point how I was going to do the witch so I traced it on here too, but I really only needed the moon.


I failed to take any "during" pictures, but all I did was cut 1" squares out of 5 different colors of duct tape (white, yellow, black, red, and neon orange) and covered the whole pumpkin (this took 2-3 hours, but I watched Martha and The View while I was doing it so it seemed like no time at all!). I kept the moon yellow and white, then outlined it in a skinny strip of black so it would stand out.  I retraced the witch on at this point for positioning purposes only.  I actually laid a strip of black duct tape on my cutting mat, traced the witch onto it, and used my craft knife to cut her out.  Her whole body fit onto the width of the tape, and then I cut her head out of a second piece, but you can't even tell where I pieced them together.


I cut the duct tape to fit around the stem.


And here she is... all finished!  I added the spooky trees as an afterthought, and I really like the way they look!  It may not be the most creative entry, but I think it's pretty cool, even if it doesn't win a prize.

How are you guys decorating your pumpkins this Halloween?

Monday, October 4, 2010

Tombstone Shadow Boxes


If you remember, I picked up three shadow boxes at a garage sale a while back.  Last week, I came up with a brilliant (if I do say so myself) idea for them.

I pass by an extremely old cemetery on my way to work every day and I have always wanted to stop and look at it.  The tombstones are practically falling apart and the whole place has a certain charm to it (as much as a cemetery can, I guess).  So anywho, I stopped there on my way home Wednesday and snapped some photos to be transformed into creepy Halloween artwork (I'll admit... I was a little freaked out and got out of there as quickly as I could).  Most of the tombstones are so old that you can't even read them anymore.  It's just so interesting to look at them and think someone has been buried there since 1845.  I mean, that's a looooooong time ago.  Okay, kinda creepy to think about, but interesting too.  Here are the photos before, and then after I Photoshopped them.


First, I printed two copies of each photo on high-quality photo paper.


On one of the copies of each photo, I cut out one tombstone using a craft knife.


Then I took the other photo and mounted it to the backerboard of the shadow box using double-sided tape.


Pop-up Glue Dots... my favorite!  I placed one glue dot in the middle of the tombstone...


...and set the cut-out on top for a 3D effect.


I used Martha Stewart's bat template as a starting point and free-handed some bats on black cardstock and cut them out.


Bats!  Hmm, just realized I forgot to take a picture of them post-glitter, but just imagine 3 of these bats all glitterized in silver.


I used a piece of transite to attach the bats to the top of the shadow boxes, using regular tape.


The finished product!  Pretty creepy, right?  I added some black rose petals and a skull leftover from my Skulls and Spiders Wreath to complete the project.  It's extremely hard to take decent photos in bad lighting of objects with glass.  Have you ever tried it?  Extremely difficult, so I'm sorry if these photos don't do it justice.


What do you think?  I like that these can easily be changed for the seasons or whatever whim I'm on that week.

Monday, September 20, 2010

Skulls and Spiders and Wreaths, oh my!

Saturday, I found a wicker wreath form at Dollar Tree and immediately decided that I needed a Halloween wreath. I have fall ones, but I've never found (or wanted to pay for) a strictly Halloween wreath.


Supplies purchased:
18" wicker wreath form (Dollar Tree: $1)
Black roses (2 bunches, $1.99 each)
Black boas (Bought 2, only used 1 so I'm taking the other one back, $4.99)
Bag of skulls ($1.99)
Halloween themed ribbon ($2.79 with 40% off coupon)
Flat black spray paint ($1.99)
Spider rings (Pack of 4, $1)
Orange glitter (I used Martha Stewart Fire Opal, $2.50 with 50% off coupon)
Silver glitter (Generic brand, $1.99)
Total: $22.23 plus tax

Supplies I already had:
Glue gun
Elmer's glue (for glittering)
Wire for bow


First, I glittered all of the skulls and spiders. The glue took forever to dry, plus it's really hard to glitter a 3D object, so I suggest doing this first.


Then I spray painted my wreath black. It took the whole little bottle of spray paint I bought.


I then wrapped one black boa around and secured the ends on the back with hot glue.


I admit, I Googled "how to create a bow". I found a tutorial on YouTube and I think it turned out pretty good! It's really easy. Basically make four loops, leaving tails, and secure the center with wire. Then I just wrapped a little piece of the ribbon around the center to hide the wire. Voila! Instant Halloween bow.


I figured out where I wanted to put my bow (because the wreath wasn't perfectly round), and then attached clumps of black glittery roses randomly with hot glue.


I kinda like it just like this!  But it needs an element of scary.


I attached the skulls and spiders using hot glue.  I cut the ring part off of the spiders so they were flat and therefore glued really easily to the wreath.  The skulls, however, were a little tricky, what with being round and all, but if you put enough hot glue on something, it will stay.

And the final creepy Halloween wreath:


What do you think?  I like it but I made the skulls hanging in the center detachable because I think I want to put some sort of sign in the middle when I get around to making one.  I just hot glued three skulls together and glued the bunch to a ribbon, then tied the ribbon to the wreath.

And just so you know, when I blew my nose today, black feathers came out (no joke), and I will probably be finding orange glitter for months.  Oh the perils of crafting.